
📌 Found a favorite? Pin it to support us!
Organizing your craft room can transform your creative space into a functional and inspiring environment. You’ll find that simple solutions, like using clear storage bins and creating a pegboard wall, can make a big difference. By implementing these ideas, you’ll not only enhance your workflow but also elevate the overall aesthetic. Curious about how to balance practicality with style? Let's explore more options that can truly elevate your crafting experience.
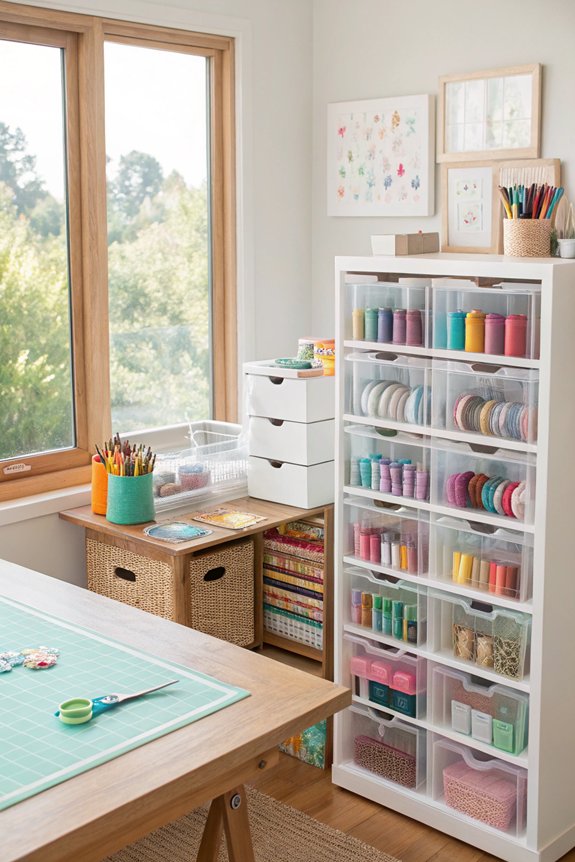
When you want to keep your craft room organized, using clear storage bins can make a significant difference. These bins allow you to see your supplies at a glance, saving you time when searching for materials. Label each bin for easy identification, and stack them efficiently to maximize space. You’ll create a tidy, functional area that inspires creativity and simplifies your crafting process.
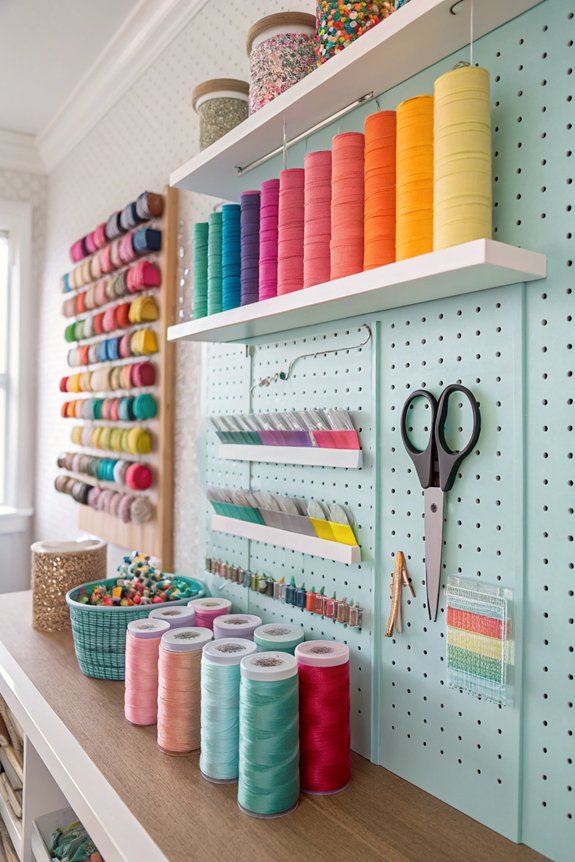
One great way to enhance your craft room is by creating a pegboard wall. It offers versatile storage for your tools and supplies, keeping everything visible and easily accessible. Simply install the pegboard, then use hooks and shelves to arrange your items. You can customize the layout as your needs change, making it a practical and stylish addition to your space.
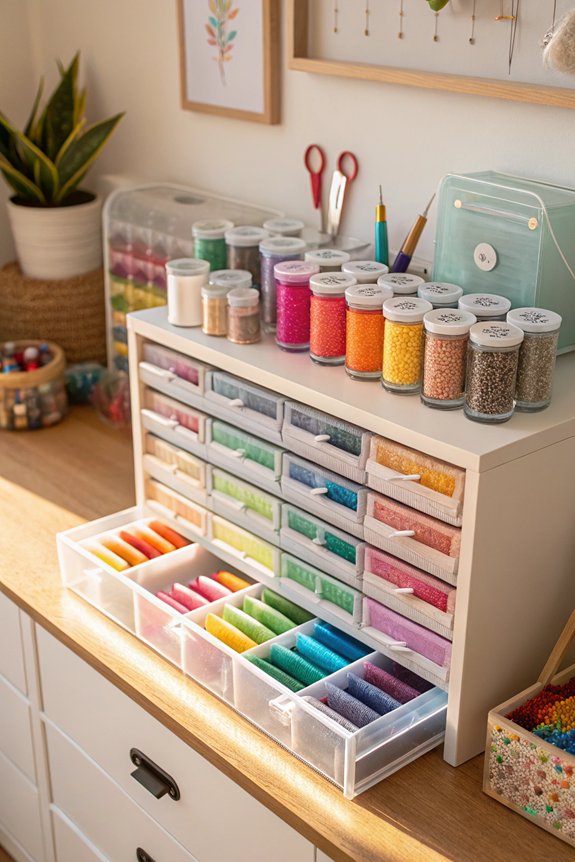
After setting up your pegboard wall, it’s time to tackle your drawers for a more organized craft room. Start by measuring your drawer space and choosing organizers that fit. Use dividers for smaller items like scissors, tape, and markers. Categorize supplies and label each section, making it easy to find what you need. This way, you'll streamline your crafting process and reduce clutter.
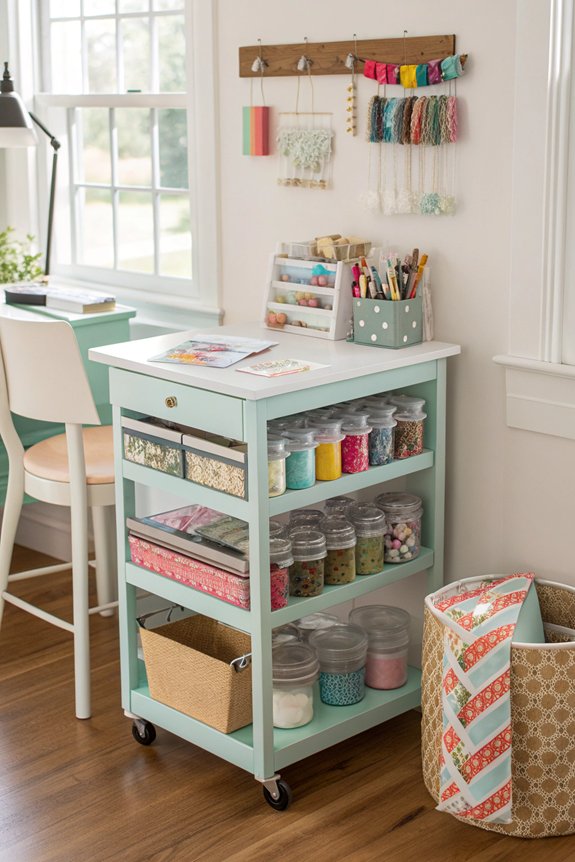
A well-designed crafting cart can transform your workspace and enhance your creativity. To create the perfect cart, consider adding these essentials:
With these features, your crafting cart will keep you organized and inspired!
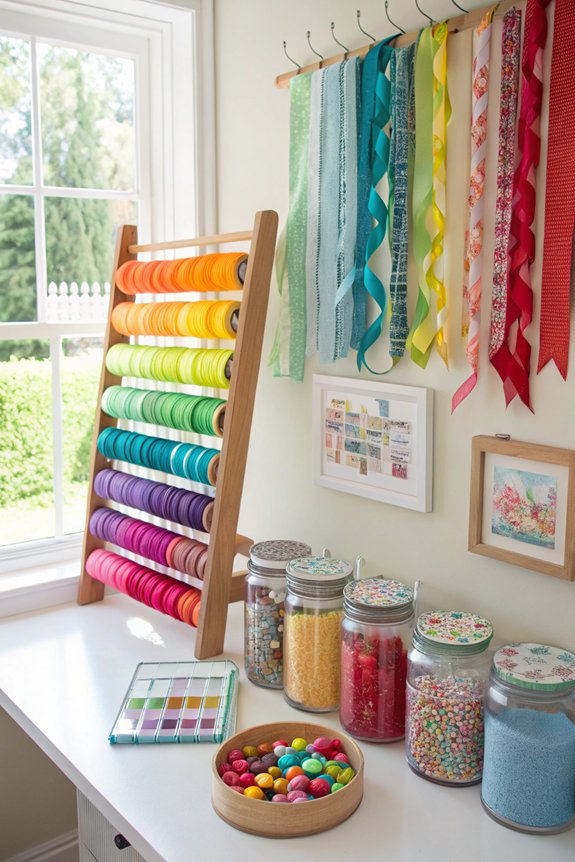
While organizing your craft room, hanging ribbon spools can free up valuable workspace and make it easier to access your favorite materials. Use a tension rod, pegboard, or curtain hooks to display your ribbons. This not only keeps them untangled but also adds a decorative touch. You'll find inspiration strikes more often when your supplies are visible and neatly arranged!
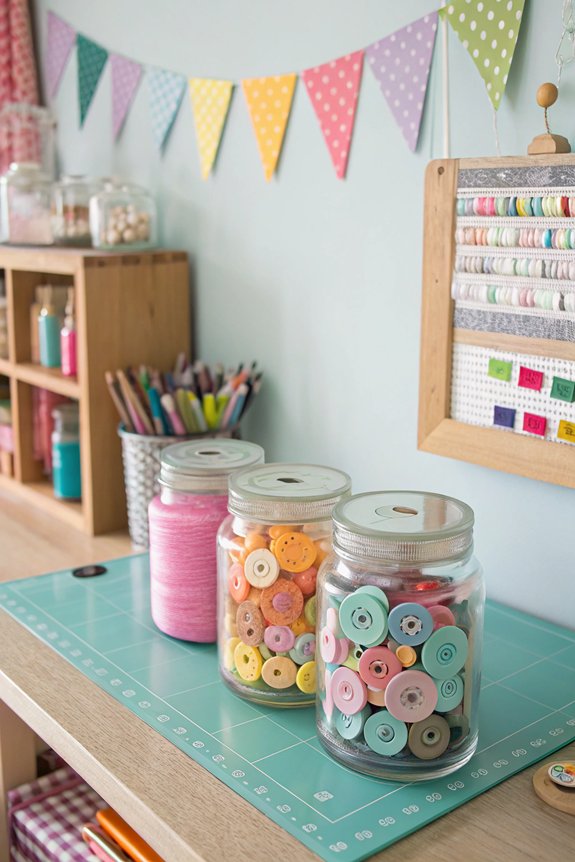
Mason jars are a fantastic solution for organizing small craft items. They’re versatile and add a charming touch to your craft room. Use them to store:
Label each jar for easy access, and stack them on shelves or tables. This way, you’ll keep your workspace tidy while showcasing your creativity!
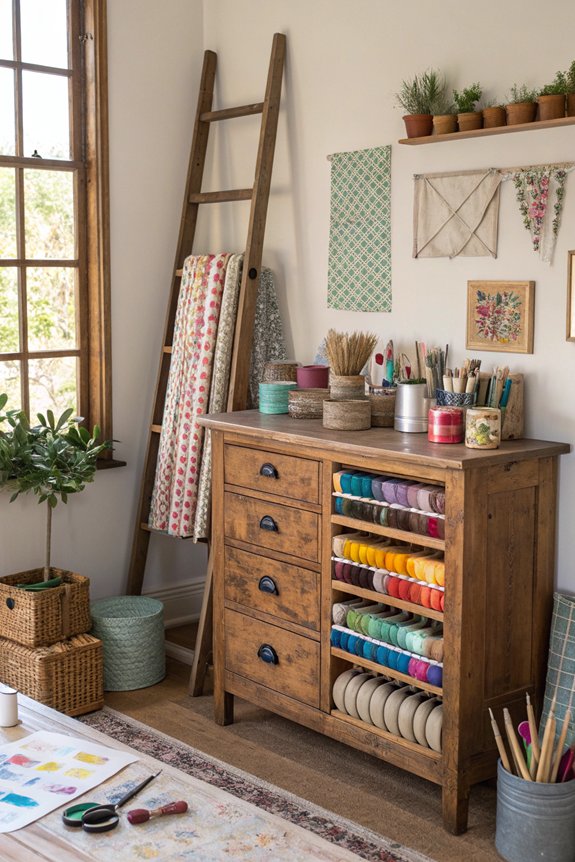
Transforming old furniture into stylish storage solutions can breathe new life into your craft room. Consider using an old dresser as a fabric storage unit or repurposing a wooden ladder to display rolls of ribbon. A vintage trunk can hold supplies while adding character. With a little creativity, you can create functional pieces that reflect your personal style and keep your space organized.
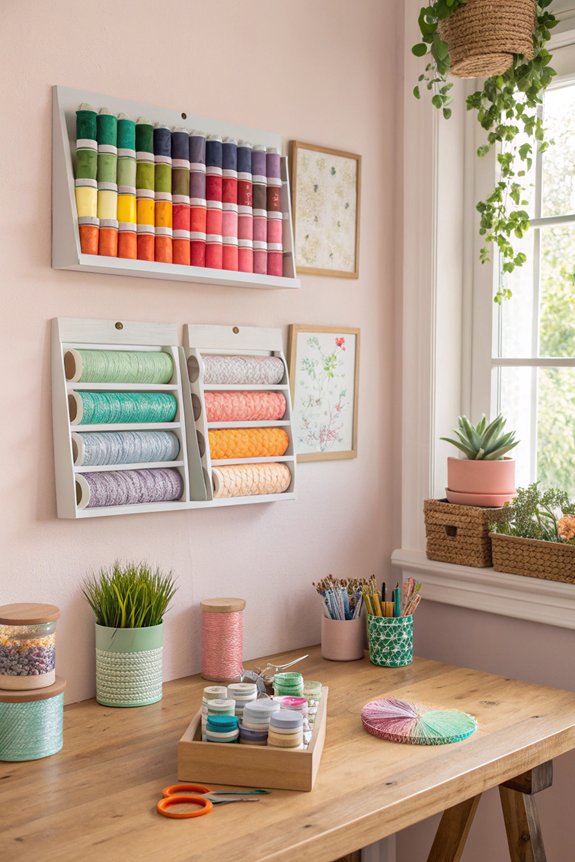
Floating shelves are a fantastic way to maximize vertical space in your craft room while keeping your supplies visible and accessible. You can easily customize them to fit your style and needs. Here are four ideas to make the most of your floating shelves:
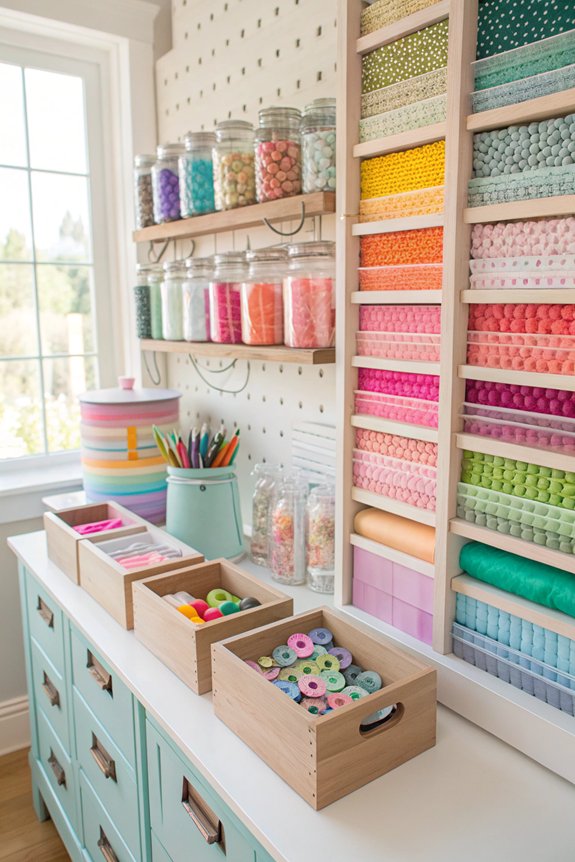
After you've installed your floating shelves, consider implementing a color-coded system to enhance organization and efficiency in your craft room. Assign specific colors to different categories, like papers, fabrics, and tools. Use colored bins or labels to store items accordingly. This not only makes finding supplies quicker but also adds a visually pleasing element to your space, inspiring your creativity.
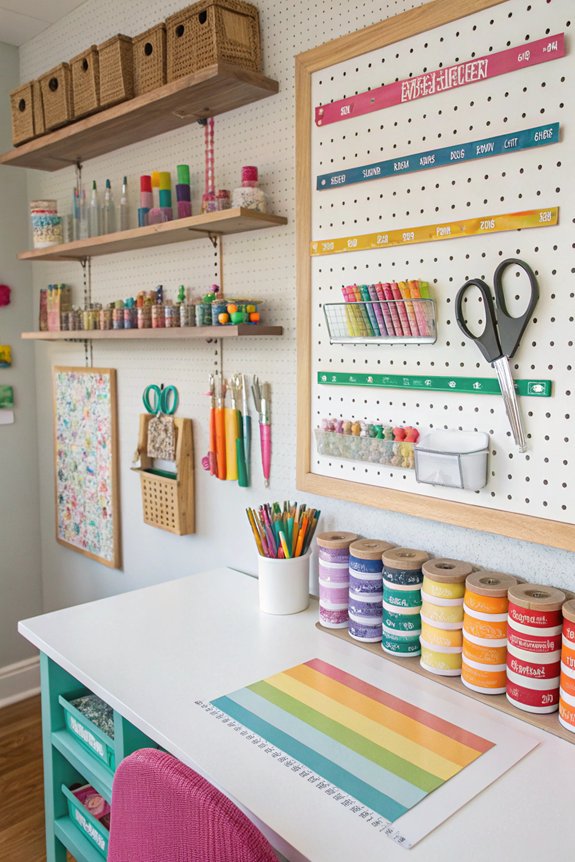
One effective way to keep your tools within easy reach is by using magnetic strips. These strips save space and keep your workspace tidy. You’ll find it easier to grab what you need when everything’s visible. Here are some tools you can hang on these strips:
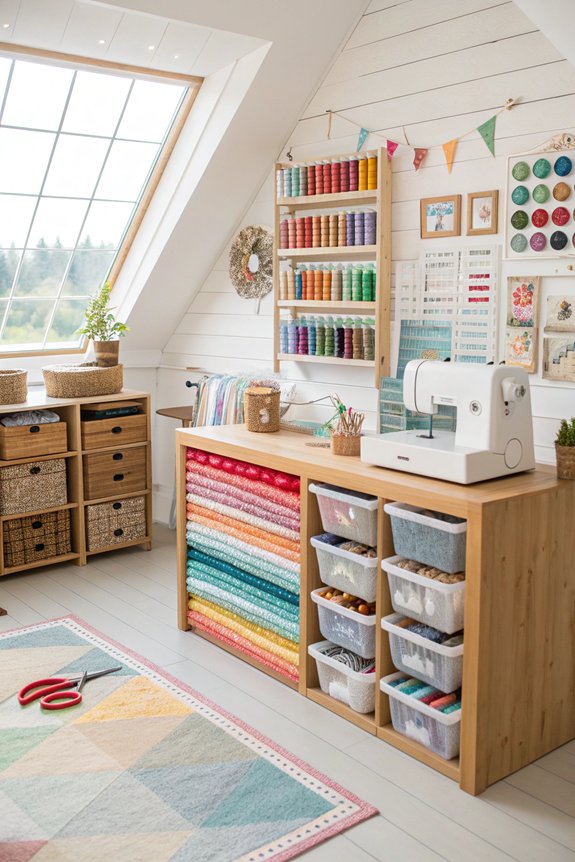
Keeping your tools organized is just the beginning; creating a designated scrap fabric area can greatly enhance your crafting experience. Set aside a specific spot for your leftover materials, whether it's a box, bin, or drawer. This way, you’ll easily find fabric for future projects and reduce waste. Plus, having a dedicated space makes your craft room feel more organized and inviting.
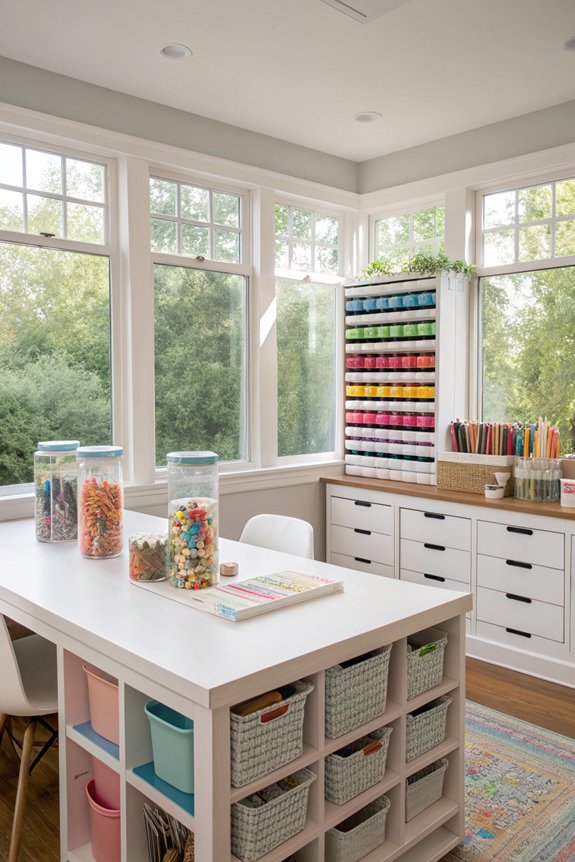
When you design your craft room, incorporating a craft table with storage can greatly streamline your workspace. Here are four key features to look for:
These elements will help keep your space tidy and efficient, allowing for more creativity!
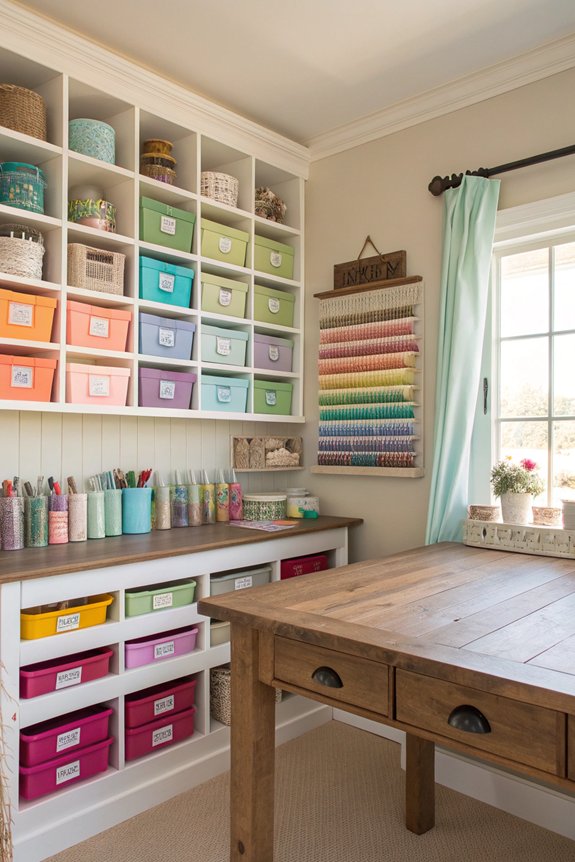
To guarantee you can quickly find what you need in your craft room, labeling everything is essential. Use clear, easy-to-read labels for bins, shelves, and drawers. Consider color-coding categories to make items visually distinct. Don’t forget to label tools and supplies, ensuring you’ll grab the right one without searching. An organized space saves you time and keeps your creativity flowing smoothly.
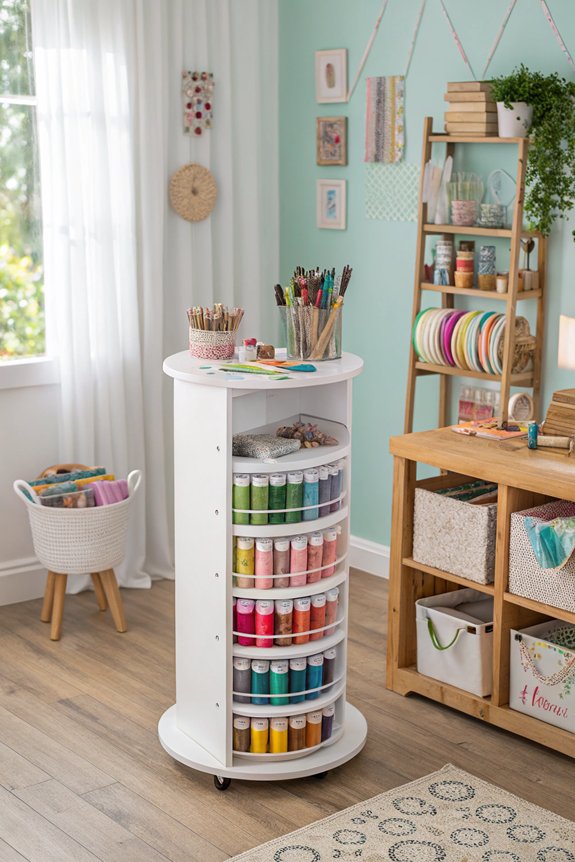
A rotating organizer can transform your craft room by making tools and supplies easily accessible. You’ll love how it saves space and keeps everything neat. Here are four items you can store in a rotating organizer:
Get one today and enjoy a more organized crafting experience!
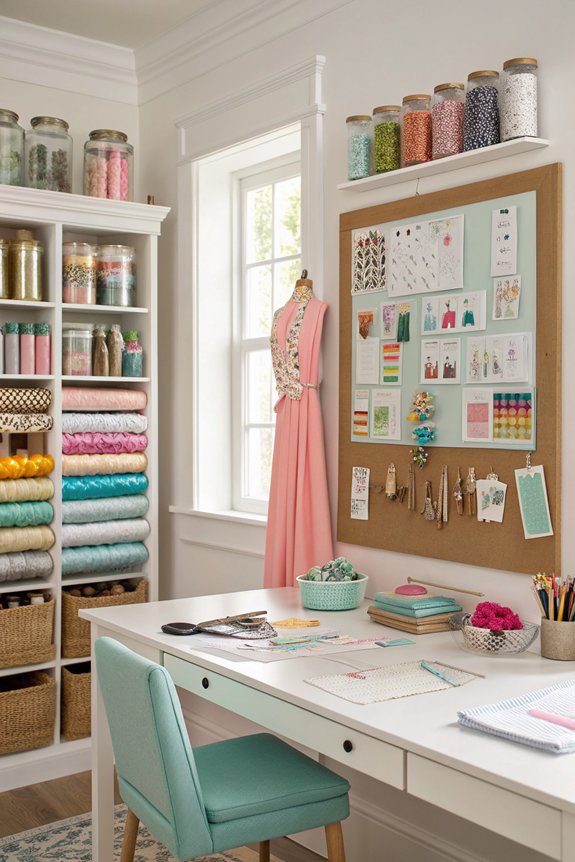
After organizing your tools with a rotating organizer, it’s time to channel your creativity into something inspiring—creating a vision board. Gather images, quotes, and colors that resonate with your crafting goals. Arrange them visually on a corkboard or canvas, making sure it reflects your style. This board will serve as a daily reminder of your aspirations and motivate you to create!
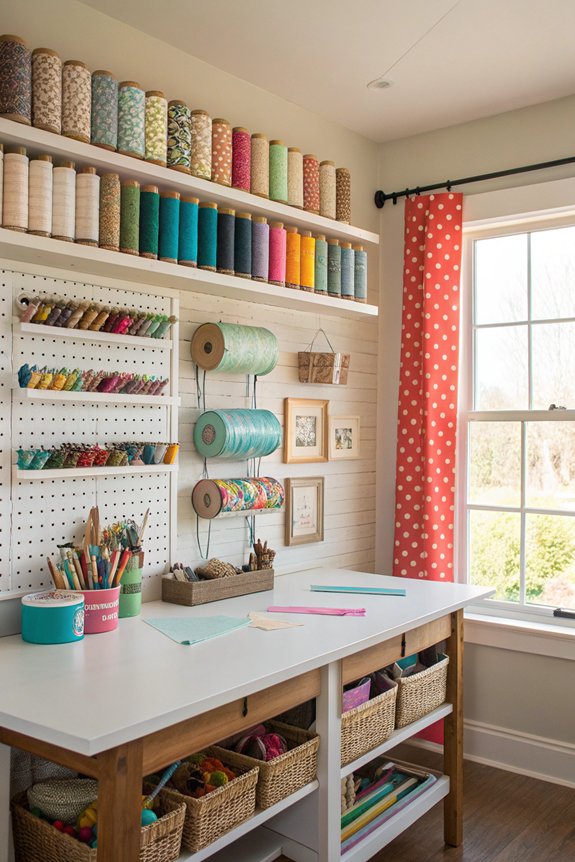
While you might think of your craft room as limited to floor space, utilizing vertical space can dramatically enhance your organization and creativity. Here are some ideas to get you started:
Maximizing your vertical space transforms your craft room!
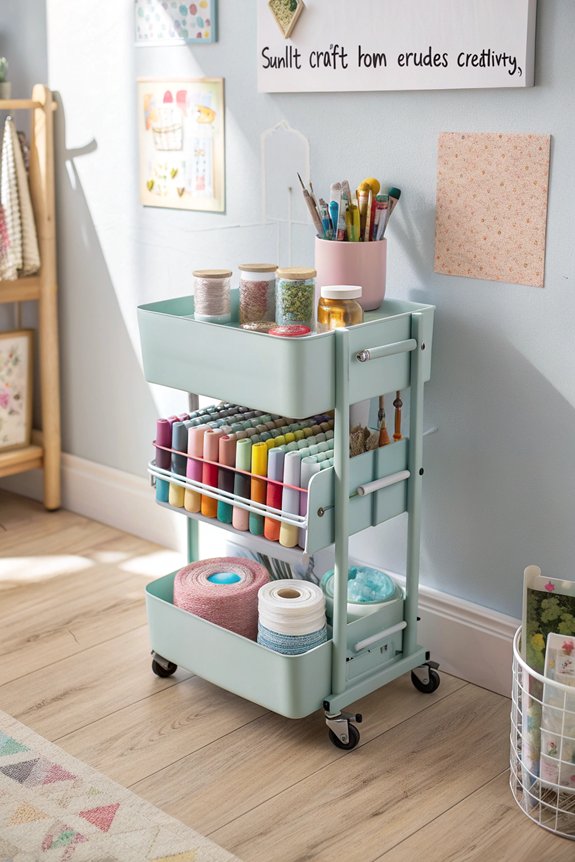
Implementing a rolling trolley in your craft room can greatly streamline your workflow, as it allows you to easily transport supplies and tools wherever you need them. Choose a trolley with multiple tiers to maximize storage. Organize items by project or type, and keep frequently used supplies within reach. You'll love how effortlessly you can move everything around, making crafting more enjoyable.
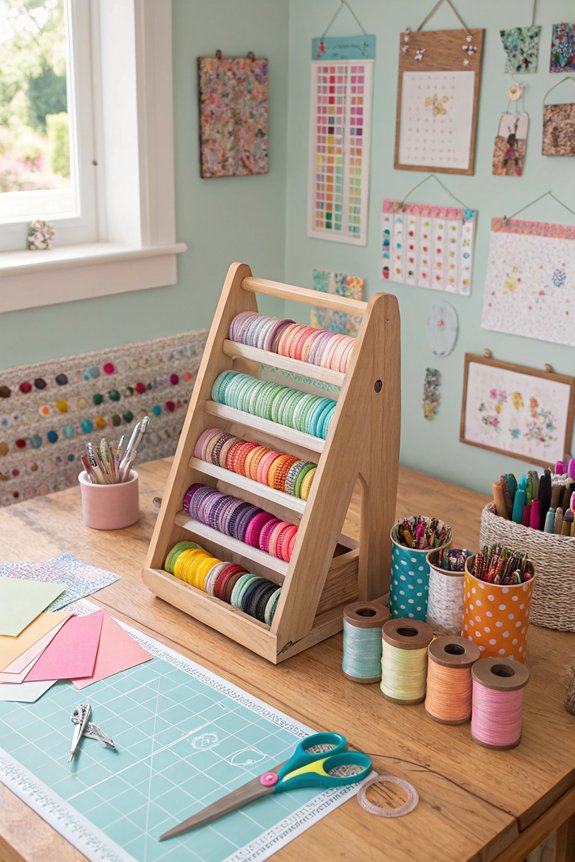
Creating a dedicated project station is essential for any craft room, as it helps you focus on your work without distractions. Here are four key items to include in your project station:
Set it up, and enjoy your creative flow!
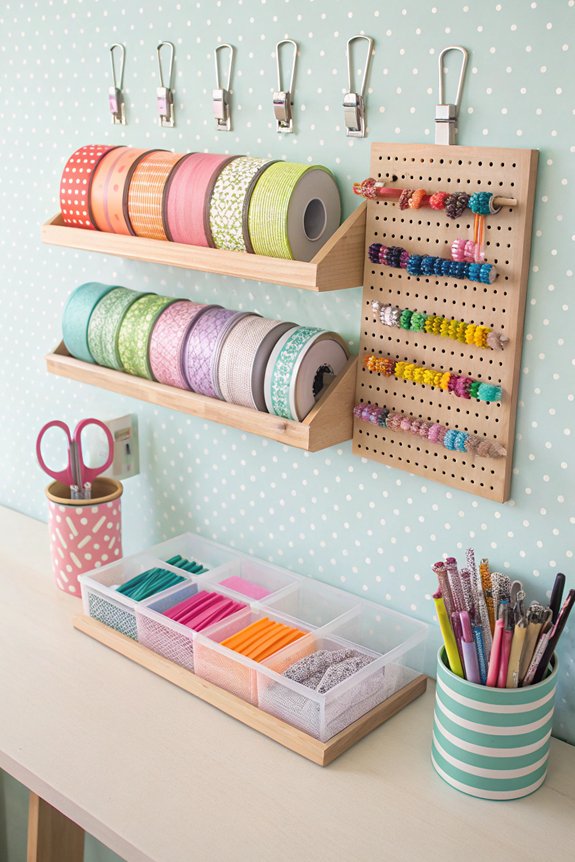
Now that you've set up a dedicated project station, it’s time to tackle organization. Binder clips can be your best friend in keeping supplies tidy. Use them to secure loose papers, hold together fabric swatches, or even clip tools to a pegboard. By incorporating binder clips into your craft room, you’ll create a neat, efficient space that inspires creativity and makes finding items a breeze.
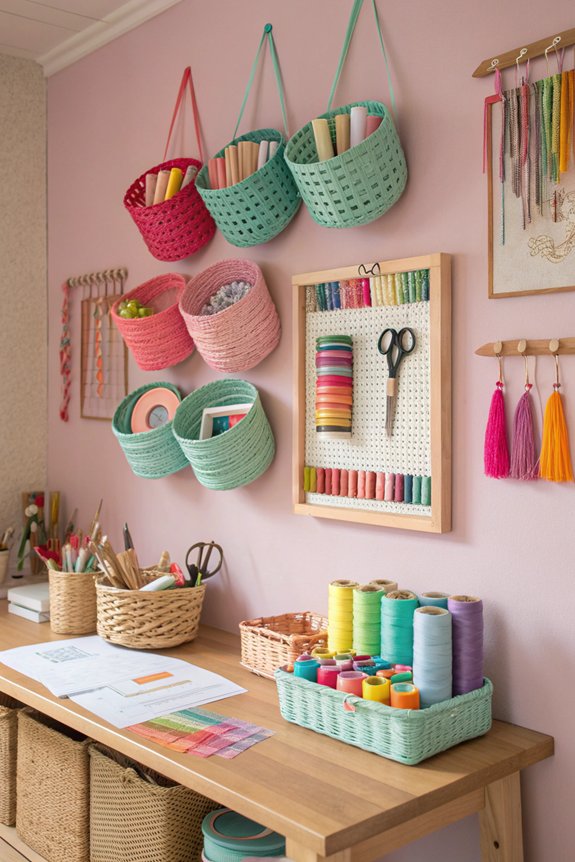
While you might think floor space is the only option for storage, wall-mounted baskets can transform your craft room into a functional and stylish haven. They keep your supplies accessible while freeing up precious floor space. Consider these ideas for your baskets:
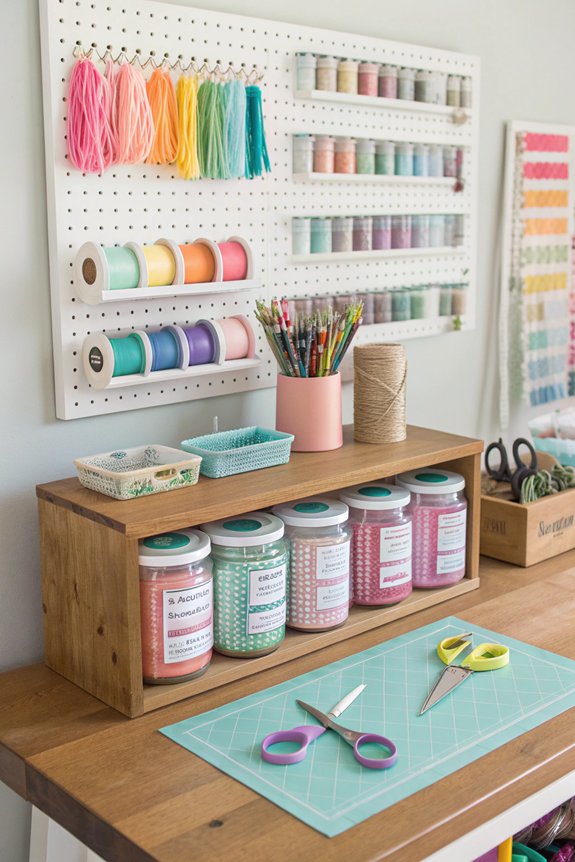
To maximize your crafting efficiency, setting up a dedicated craft supply station is essential. Choose a sturdy table or desk, and organize your supplies by category. Use bins or drawers to keep items like glue, scissors, and embellishments within easy reach. Label containers for quick identification, and consider adding a pegboard above for tools. This organized space will inspire creativity and streamline your projects.
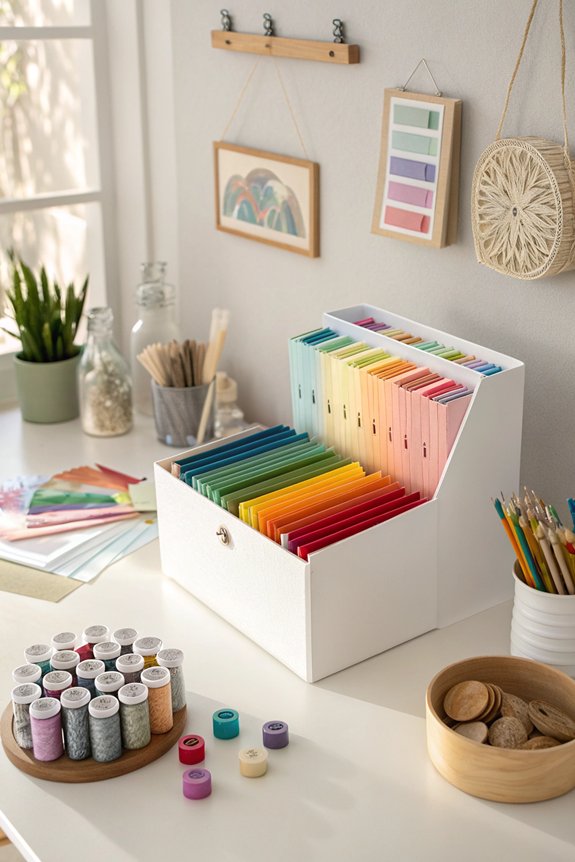
An expanding file can be a game-changer for organizing your paper supplies, especially when you want to keep everything sorted and easily accessible. You can use it to categorize different types of paper. Here are four ways to utilize your expanding file effectively:
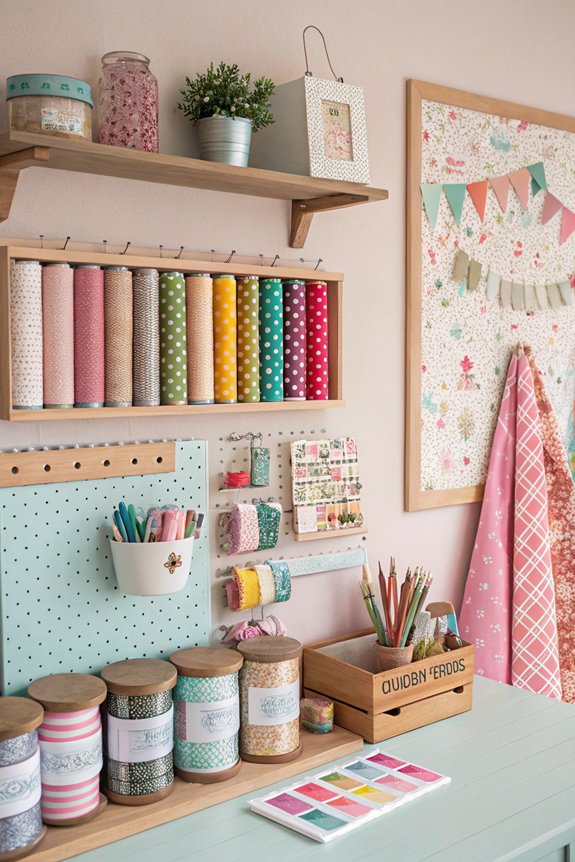
Creating a Wall of Inspiration can transform your craft room into a source of creativity and motivation. Start by displaying your favorite quotes, images, and color swatches. Use clipboards, corkboards, or washi tape to arrange them in an eye-catching way. Don’t forget to include your completed projects as reminders of your achievements. This personalized space will ignite your passion for crafting every time you walk in!
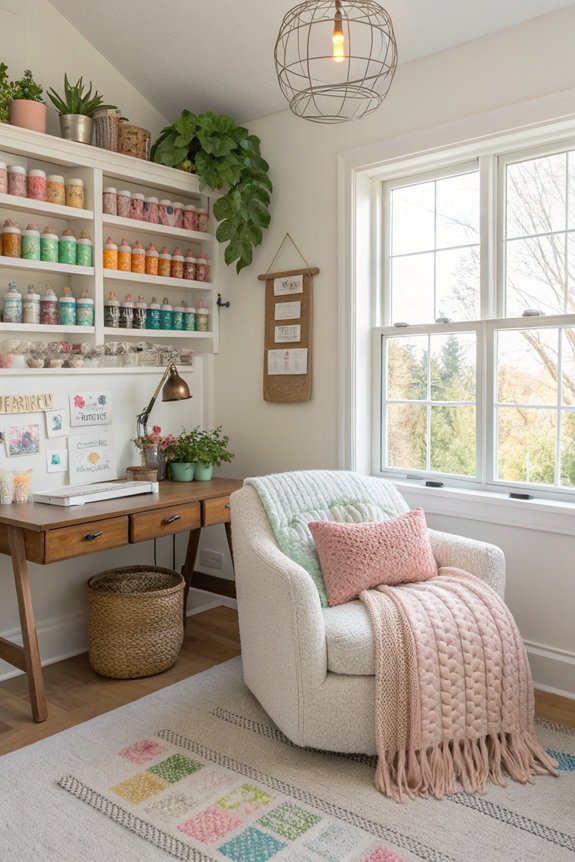
A well-organized craft room isn’t just about supplies; it’s also about creating spaces that inspire you to relax and recharge. Design a cozy reading nook by incorporating these elements:
This nook will be your perfect retreat!
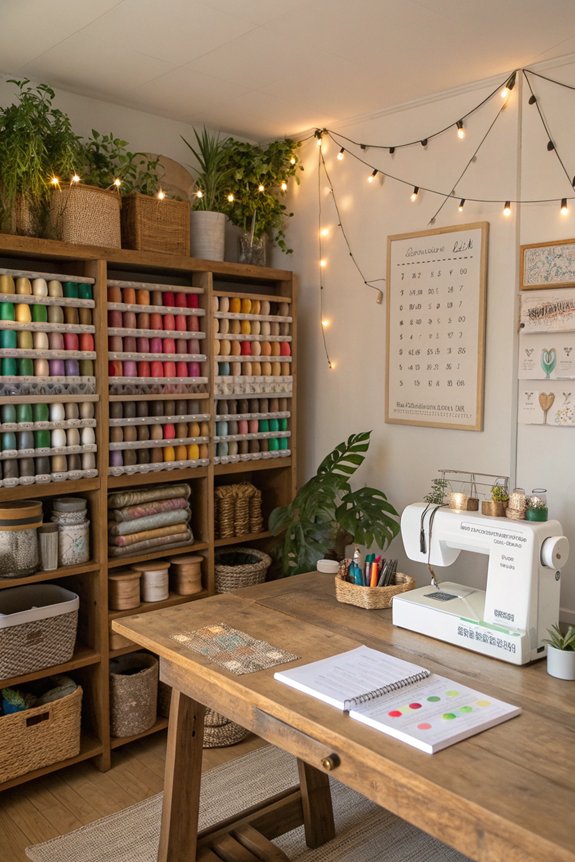
While you might think of a crafting journal as just another notebook, it can actually become your most valuable tool for creativity. Use it to jot down ideas, sketch designs, or document your projects. By keeping track of materials and techniques, you’ll refine your skills and spark new inspiration. Plus, it’s a great way to reflect on your crafting journey!
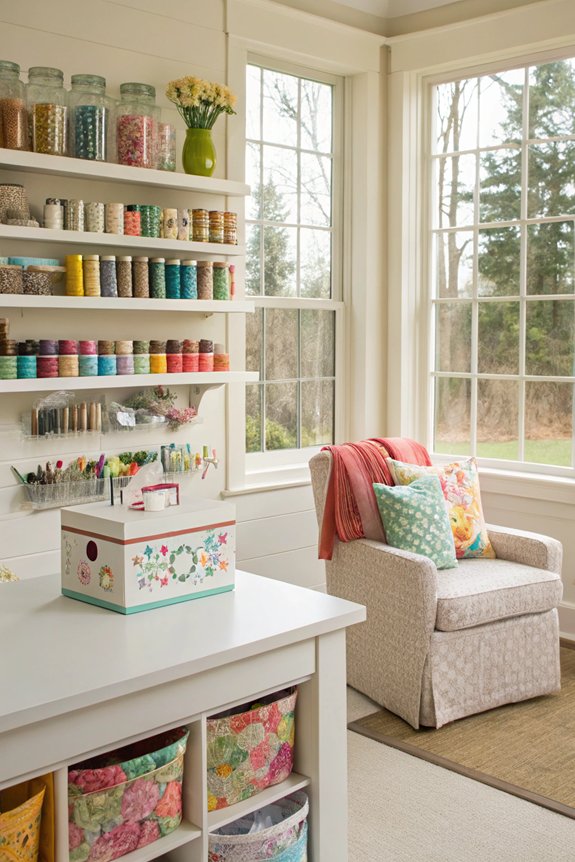
Keeping a crafting journal helps you stay organized and inspired, but it’s equally important to manage the materials you accumulate over time. Implementing a donation box can clear out unused supplies while benefiting others. Consider adding these items:
Make space for new creativity!
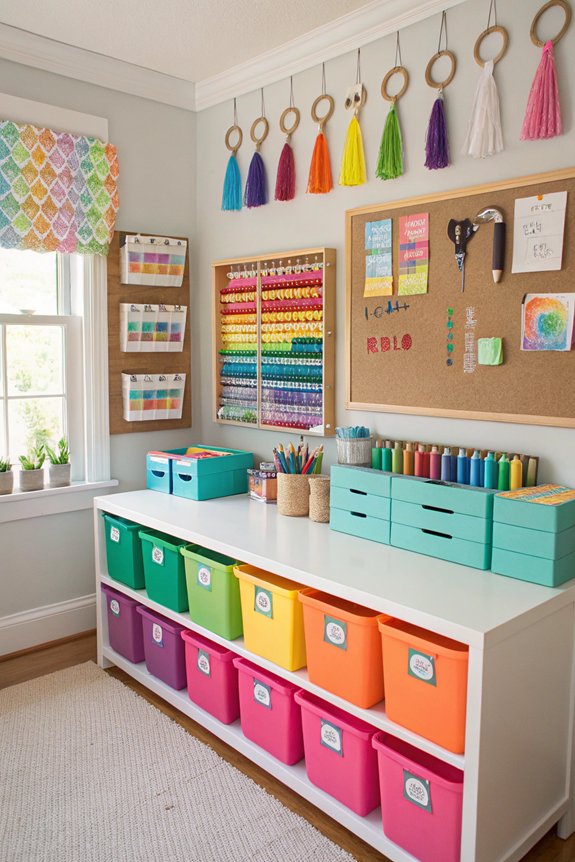
Brightening up your craft room can be as simple as incorporating colorful storage solutions. Choose bright bins, baskets, or shelves to not only organize your supplies but also add a fun pop of color. You can coordinate colors for a cohesive look or mix and match for a playful vibe. Either way, you'll create an inspiring space that sparks your creativity!
By incorporating these 27 beautiful craft room organization ideas, you can transform your creative space into a functional and inspiring environment. Clear storage bins and pegboard walls enhance visibility and access, while a cozy reading nook offers a perfect spot for relaxation. With everything labeled and organized, you’ll find it easier to immerse yourself in your projects and let your creativity flow. So, get started on revamping your craft room and enjoy the benefits of an organized space!